
Remote file sharing has become essential in both professional and home environments. With multiple devices connected via LAN or Wi-Fi, users often need to retrieve data from a specific location. One common scenario involves accessing the C drive on another machine within the same network.
However, challenges arise when attempting to connect to administrative shares, especially after a Windows reinstallation. Configuring sharing settings can be tricky, and compatibility varies across versions like Windows 11, 10, 8, and 7. Understanding these nuances is crucial for seamless remote access.
Several methods can simplify this process. These include using path inputs, Command Prompt tools, or third-party software like AnyViewer. Each approach has its own benefits, but security remains a top priority. Ensuring network discovery is enabled and permissions are correctly set is vital.
This guide will explore these solutions while addressing common troubleshooting steps for permission errors. By the end, you’ll have a clear understanding of how to efficiently manage remote access to the C drive.
Introduction to Accessing the C Drive Over a Network
Sharing files across devices has transformed how we manage data in modern setups. However, accessing administrative shares like C$ can sometimes be challenging, especially after a Windows reinstallation. Previously, users could connect via paths like \\MyLaptop\C$, but now, credential errors often arise despite having admin rights.
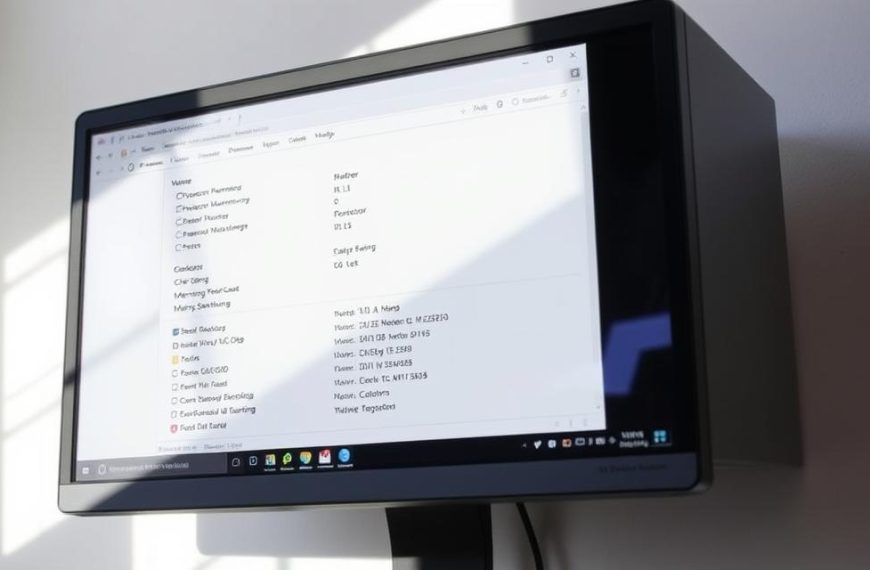
Administrative shares, such as C$ or D$, differ from manual folder sharing. These are default shares created by Windows for system management. Manual sharing involves selecting specific folders, while administrative shares provide access to entire drives.
Windows security updates have tightened default share access. For example, recent versions require stricter credential formatting, such as MyLaptop\LaptopUser. Additionally, Home and Pro editions handle permissions differently, with Pro offering more advanced options.
Network discovery and share access permissions are not the same. Enabling network discovery allows devices to see each other, but actual share access requires proper permissions. Regular admin accounts might fail where the built-in Administrator account succeeds due to elevated privileges.
Understanding these nuances is crucial for seamless file sharing. By addressing credential formatting and permission settings, users can overcome common hurdles and ensure smooth data exchange across devices.
Preparing Your Network for C Drive Access
Proper network preparation is essential for smooth remote file access. Before attempting to share files, ensure your network is configured correctly. This involves enabling visibility and setting up secure permissions.

Ensure Network Discovery is Enabled
Network discovery allows devices to see each other on the same network. Without it, remote access becomes impossible. To enable this feature:
- Open Control Panel and navigate to Network and Sharing Center.
- Select Change advanced sharing settings.
- Turn on Network discovery and Automatic setup.
For older Windows versions, enabling SMB 1.0/CIFS compatibility may be necessary. This ensures seamless communication between devices running different operating systems.
Set Up User Permissions
Proper permissions are crucial for secure network sharing. Without them, users may encounter access denied errors. Follow these steps:
- Create matching user accounts and passwords across devices.
- Disable password-protected sharing exceptions if not required.
- Configure firewall rules to allow File and Printer Sharing.
For advanced security, adjust NTFS permissions for the C$ share. This ensures only authorized users can access sensitive data.
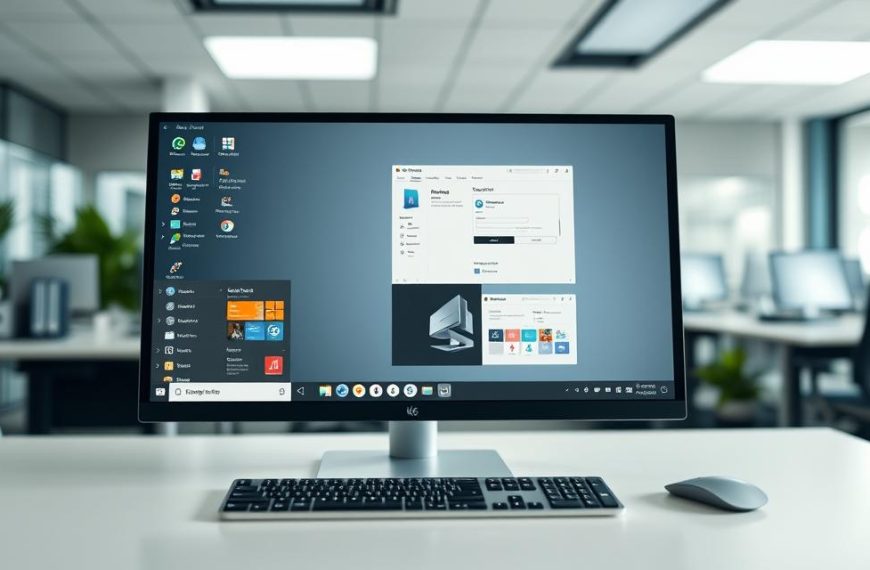
How to Access the C Drive on a Network Computer
Efficiently managing files across devices is a necessity in today’s connected world. Whether you’re working remotely or collaborating in an office, accessing shared drives is a common task. Several methods can help you achieve this, each with its own advantages.
Method 1: Access C Drive by Inputting a Path
One straightforward way is by entering the path directly. Open File Explorer and type the network path in the address bar. For example, use \\DeviceName\C$ to connect. Ensure the target device has sharing enabled and proper permissions set.
Method 2: Access C Drive Remotely via CMD
Command Prompt offers a powerful alternative. Use the net use command to map the drive. For instance, type net use Z: \\DeviceName\C$ /user:Username Password. This method is ideal for advanced users who prefer command-line tools.
Method 3: Use Remote Desktop Software
For a more user-friendly approach, consider remote desktop software. Tools like AnyViewer simplify the process with features like cross-LAN access and 1TB file transfers. They also support multi-device connections, making them versatile for various workflows.
When choosing a solution, compare options like AnyViewer, TeamViewer, and RDP. Key factors include:
- Ease of setup for unattended access.
- File transfer protocols versus direct drive mapping.
- Security features such as black screen mode and input blocking.
- Enterprise versus free version capabilities.
- Mobile access considerations for on-the-go productivity.
By selecting the right method, you can ensure seamless data transfer and efficient file management across your network.
Troubleshooting Common Issues
Resolving connectivity issues is a critical step in ensuring smooth file sharing across devices. Even with correct permissions, users often encounter “Access Denied” errors. Understanding the root causes and applying effective solutions can save time and frustration.

Dealing with Access Denied Errors
One common problem is the “Access Denied” message, even when permissions seem correct. This often occurs due to credential mismatches or restrictive group policies. Here’s how to address it:
- Verify that the username and password match on both devices.
- Check if password-protected sharing is enabled in network settings.
- Ensure the firewall allows file and printer sharing.
For advanced users, auditing access logs can provide insights into failed attempts. This helps identify specific permission issues.
Using the Built-in Administrator Account
The built-in administrator account in Windows offers elevated privileges, often bypassing common access issues. To activate it, use the command net user administrator /active:yes in Command Prompt.
“Activating the hidden administrator account can resolve persistent access issues, but it should be used cautiously due to its elevated privileges.”
Here are some best practices for secure use:
- Set a strong password to prevent unauthorized access.
- Disable the account when not in use to minimize security risks.
- Use Group Policy to manage session isolation and access logs.
| Method | Pros | Cons |
|---|---|---|
| Built-in Administrator Account | Bypasses most permission issues | Higher security risk if misused |
| Group Policy Management | Centralized control over permissions | Requires advanced knowledge |
| Auditing Access Logs | Identifies specific access failures | Time-consuming to analyze |
By understanding these methods, users can effectively troubleshoot and resolve common issues, ensuring seamless file sharing across their network.
Conclusion
Balancing security and convenience is essential for effective data management. Understanding permission hierarchies ensures smooth file sharing across devices. In enterprise environments, automated scripting solutions can save time while maintaining control.
Backup strategies are crucial before configuring shared files. This minimizes risks during setup. For non-technical users, tools like AnyViewer provide a user-friendly way to manage remote access securely.
By prioritizing both security and efficiency, you can optimize your network for seamless collaboration. Whether in small teams or large enterprises, the right approach ensures productivity without compromising safety.
 By
By